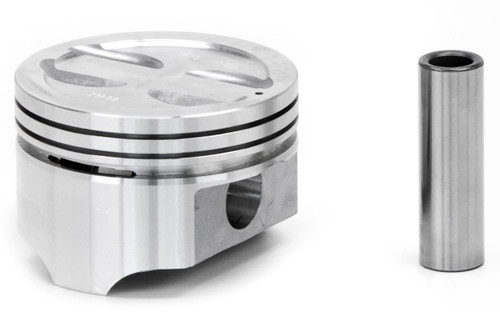
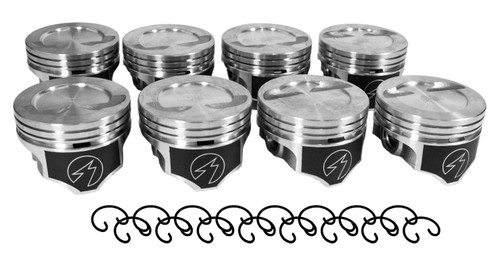
4.00" bore Cast rings, Chevys. Fords, Chrysler, AMC, 8 cylinder ring set
Top Groove
|
2nd Groove
|
3rd Groove
|
5/64
|
5/64
|
3/16
|
Ring gaps are often a confusing and misunderstood part of a rering job. There re MINIMUM and MAXIMUM ring gap specifications which must be observed for the best performance of a new ring set.
Minimum gap tolerances must be observed in order to prevent the ring ends from butting together as the ring expands when the engine approaches operating temperature. Hastings recommends a MINIMUM of .0035 gap per inch of cylinder diameter. Example: 4" (bore) x .0035 = .0 14 minimum gap.
Maximum ring gap is an important part of ring performance in that too much gap results in lost compression, power loss and ultimately poor oil control. The following chart indicates the specifications for compression ring gap as outlined by the SAE (Society of Automotive Engineers) as standards for the automotive piston ring manufacturers.
SAE RECOMMENDED AUTOMOTIVE COMPRESSION RING GAP CLEARANCE
|
Ring Diameter
|
End Clearance Inspection Limit
|
1.0000 |
2.3624 |
.006 |
.014 |
2.3625 |
2.9524 |
.008 |
.016 |
2.9525 |
3.5424 |
.010 |
.020 |
3.5425 |
4.3299 |
.012 |
.022 |
4.3300 |
5.1174 |
.014 |
.026 |
5.1175 |
5.9049 |
.016 |
.030 |
5.9050 |
6.8899 |
.020 |
.035 |
6.8900 |
8.9999 |
.024 |
.041 |
9.0000 |
10.9999 |
.029 |
.047 |
An important fact to remember is that the manufacturers rigidly adhere to these tolerances and that the ring gaps are inspected in gauges accurate to .0001" at the cylinder diameter the ring is manufactured for. Any increase in the diameter of the cylinder is being used in, over the designated size, results in an increase of approximately .003" in ring gap for each .001" increase in cylinder diameter.
In order to check ring gap, the rings should be placed at the lowest possible part of the cylinder (below ring travel area) as this is the portion of the cylinder which is unworn and which the ring is sized for. Checking ring gap in the worn portion of the cylinder will show a gap increase in direct relation to the amount of cylinder wear present. The illustration on the following page shows the effect of cylinder wear on ring gap.
This graphically illustrates the effect on ring gap that cylinder wear has. You will notice that the tapered cylinder has .012 wear at the top portion of ring travel which increases the ring gap .036. Therefore, it is entirely possible for the ring to have .061 end gap in that portion of the cylinder and be within recommended manufacturing tolerance.
For this reason, Hastings recommends a MAXIMUM of .003" wear per inch of cylinder diameter, not to exceed .012" in any case for successful reringing. If a cylinder is worn in excess of this it should be rebored and the proper oversize ring installed. Checking ring gaps can give an approximation of cylinder wear as well as keep you from installing wrong sized rings for the application being rerung.
DIAGRAM BELOW SHOWS EFFECT OF.012 CYLINDER TAPER ON RING GAP IN FOUR-INCH BORE.